Turkey is the iconic holiday dish. It is most often eaten in accordance with a American Thanksgiving tradition. This recipe includes an extra preparation step referred to as “brining.” The brining process increases the moisture and savoriness of the turkey creating the perfect turkey that is incredibly difficult to overcook. Tasting Guidelines: Taste is savory. Weight is of the white meat is light and the dark meat is heavy. Texture is soft. Good for people with low to severe treatment side effects. Best categorized as traditional American.
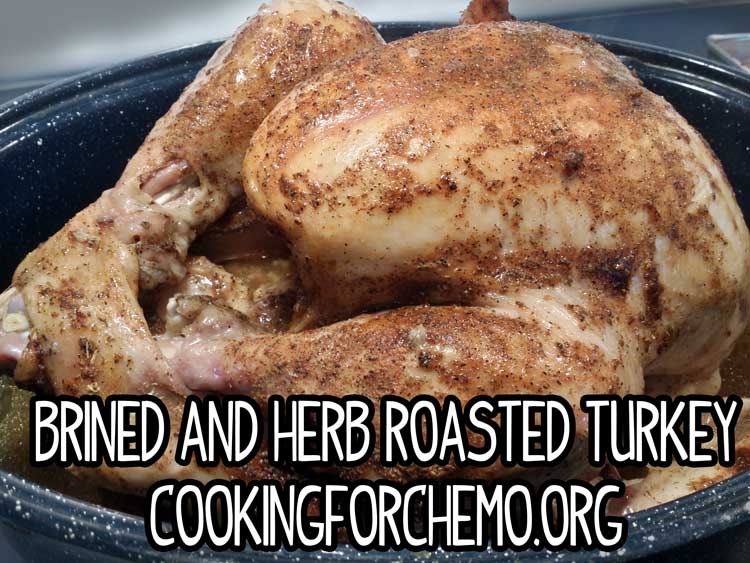
Brined and Herb Roasted Turkey Recipe
Equipment
- Oven roasting bag
- Roasting pan
- Kitchen thermometer
- Cutting board
- Carving knife
- Stock pot (large enough to brine the turkey)
Ingredients
Ingredients:
- 1 whole turkey or 1 white meat only turkey defrosted
Brining Solution:
- 2 gallons cool water
- 1 c. granulated sugar
- 1 c. Kosher salt or sea salt
Turkey Rub:
- 2 tbsp. cornstarch
- 1 tbsp. Kosher salt or sea salt
- 1 tbsp. black pepper finely ground
- 1 tbsp. Old Bay seasoning
- ½ tbsp. garlic powder
- ½ tbsp. rubbed sage
- ½ tbsp. paprika
- 4 bay leaves
Instructions
- Cooking a turkey is a little more intensive than the side dishes that go along with it. So I have broken this recipe into sections for ease of use.
Part 1: Preparing the Turkey
- This recipe is a multi day recipe which sounds like a lot of work but in reality is just a few small steps spaced out over a few days to ensure a superior result. You need to have your turkey completely and thoroughly defrosted at least 24 hours before you intend on roasting it. It needs to be completely defrosted so that we can brine the turkey for at least 24 hours before cooking it to create a superior turkey.
To brine the turkey:
- You will need a large stock pot. Usually 16-20 quarts in size (4-5 gallons). Fill the pot with 2 gallons of cool water. Then add 1 c. Kosher salt and 1 c. granulated sugar. Stir together well until thoroughly dissolved into water. Remove turkey from the package and place onto a baking sheet. Remove the turkey neck and giblets package from the turkey and save if you intend on cooking them or simply throw away. Gently submerge the turkey into the brine water ensuring that all cavities are filled with water and there are no air pockets remaining. Place a heavy plate on top of turkey to weigh it down and to keep it fully submerged under the water. If there is not enough water to cover the turkey, make a secondary brine solution on the side and add enough until the turkey is completely submerged. (Make additional brine solution of 1 quart water to ¼ c. Kosher salt and ¼ c. sugar.) Place brining pot into refrigerator and allow to soak for 24 hours before cooking.
Part 2: Seasoning and Roasting the Turkey
- After you brine the turkey, carefully remove turkey from brining solution and allow to drain before placing on a baking sheet to rest. While turkey rests, it will leak extra fluid. So make certain your baking sheet has sides to contain the excess fluid or you will have quite the mess. Take this time to clean your brining pot. After you feel the turkey has drained sufficiently, mix together ingredients for the turkey rub in a separate bowl. Make certain to reserve the bay leaves as we are going to stuff those into the turkey cavities. Prepare your roasting pan and roasting bag as we will need them in a moment. Take your turkey rub and generously rub the seasoning mixture on the interior and exterior surfaces of your turkey. If you need more rub, make more. The key here is to have every surface thoroughly coated with the rub. Do not allow the cornstarch to clump or it will bake like that. Now, carefully place the turkey into our turkey bag and pour any liquid and seasonings from the bottom of the pan into the turkey bag. This will help us to create an amazing gravy. After turkey is in the bag, close the bag with the provided tie and be sure to follow any additional instructions that your oven roasting bag may have. If your roasting pan has a lid, do not use the lid to cover the turkey as the lid could melt the oven bag. Place turkey into pre-heated oven at 325 degrees Fahrenheit until breast meat reaches 170 degrees F and dark meat reaches 180 degrees Usually the turkey packaging will give you a time estimate. Use that but always check your turkey with a kitchen thermometer.
Part 3: Finishing Turkey
- When the proper temperatures have been achieved, simply remove the roasting pan with the turkey from the oven. Cut open the bag and allow the liquid to drain from the bag into the pan. We are going to use this liquid in my gravy recipe. Gently remove the turkey from the roasting pan and place on a baking sheet or cutting board for carving. Allow to rest approximately 30 minutes before carving to ensure optimum juiciness. Then carve the turkey as desired.
Notes
Cooking for Chemo focuses on teaching you how to make your food taste good again during cancer and chemotherapy treatments. The flavor and cooking techniques contained within our easy to make recipes will help improve your quality of life as you go through cancer and chemotherapy treatments. Our cooking and flavor techniques can be integrated with any diet regimen. Talk with your dietitian to come up with a quality nutrition plan. This site is not to be taken as or used instead of professional medical advice. Please consult your doctor, oncologist, and dietitian before starting any new diet.
For more cooking for chemotherapy recipes like this, you can pick up a copy of Cooking for Chemo …and After! By Chef Ryan Callahan -The Cancer Chef- on Amazon. Have specific questions? Email us at [email protected]

If you haven't noticed, this website is full of helpful free information and articles! We are more than just a recipe website.
We recommend that you start with our page on Cooking Tips for Cancer Fighters. That's the hub where all of our most useful information is stored. Including information on how to combat mouth sores, nausea, loss of appetite and metallic tastes!
You can also sign-up for a FREE digital class that fits your schedule HERE.
Don't forget to drop a bookmark on CookingForChemo.org